Adobe Lightroom is a powerful photo editing software specifically designed for photographers looking to enhance their imagery in a streamlined and efficient manner. It is particularly prized in the real estate photography community for its ability to improve images while maintaining a professional and polished appearance. The software provides a comprehensive set of tools that cater to the unique demands of real estate imagery, enabling photographers to highlight property features effectively.
Understanding the Basics of Lightroom
How to edit real estate photos in lightroom is its user-friendly interface, which simplifies navigation for both novice and advanced users. Upon opening the application, you will encounter a clean workspace divided into several modules, including Library, Develop, and Map. Each module serves a distinct purpose, with the Develop module serving as the core for editing images. Within this area, users can access a variety of editing tools designed to enhance tonal quality, adjust exposure, alter color balance, and refine details.
Key tools such as the adjustment brush, graduated filter, and radial filter allow for selective editing, making it easier to manage lighting and color discrepancies that are prevalent in real estate photography. These features enable photographers to emphasize the property’s best attributes and create inviting visuals that attract potential buyers. Furthermore, users can apply presets to streamline the editing process, preserving consistency across a series of images.
Additionally, it is essential to note the differences between Lightroom Classic and Lightroom CC. Lightroom Classic is more suited for those who prefer a comprehensive desktop experience with robust cataloging options, while Lightroom CC offers cloud-based capabilities ideal for those who desire editing flexibility across devices. Understanding these distinctions will help real estate photographers choose the version that aligns with their workflow and preferences, ensuring a smooth editing experience.
Essential Editing Techniques for Real Estate Photos
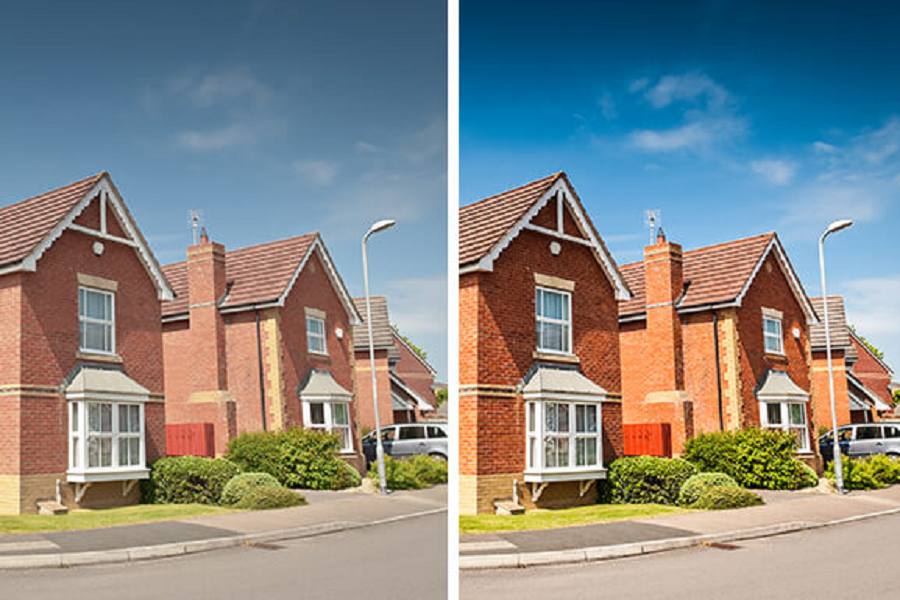
When it comes to real estate photography, the editing process plays a crucial role in making properties stand out in listings and attract potential buyers. Key editing techniques help in accurately representing the property while enhancing its visual appeal.
The first step in the editing process is adjusting the exposure. This adjustment is vital as it can greatly affect the overall appearance of the photograph. Proper exposure ensures that both light and dark areas are well-represented, allowing viewers to appreciate the details of the space. After exposure, adjusting the white balance is equally important; it helps in presenting the colors naturally and accurately, avoiding any unwanted color casts that could mislead prospective buyers.
Another essential technique is the management of contrast. Increasing contrast can add depth to images, making architectural details more pronounced. However, it is critical to find a balance to prevent loss of detail either in highlights or shadows.
Cropping and straightening tools are also invaluable in real estate photography. Cropping allows for the removal of distracting elements around the edges of the photograph, drawing focus to the property’s key features. Straightening is crucial for aligning vertical and horizontal lines, ensuring the image reflects a true representation of the space.
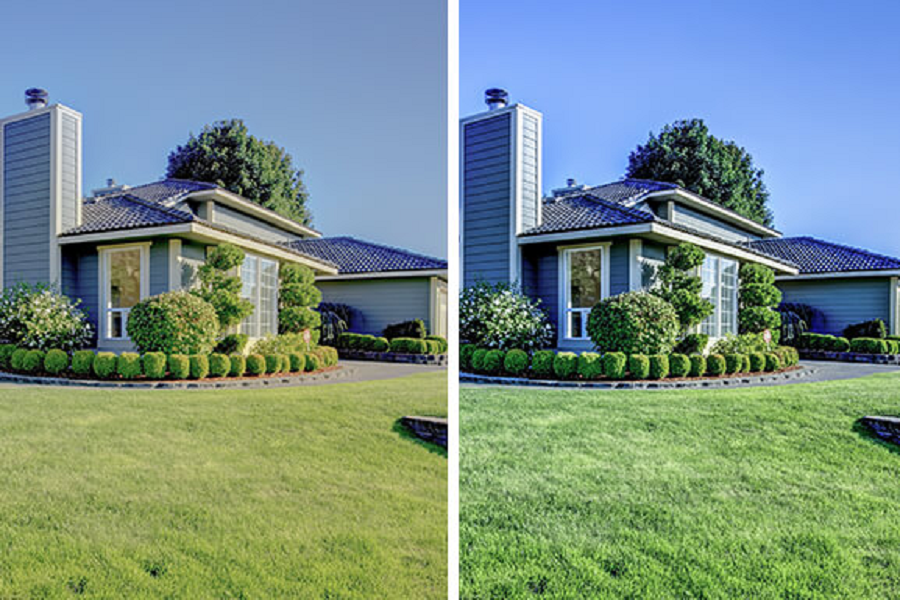
In real estate imaging, removing unwanted objects from photos is an important step to achieve clarity. Utilizing tools within Lightroom to eliminate distractions can streamline the viewing experience for potential buyers. Additionally, enhancing colors is an effective way to part the overall appeal of the property. Subtle saturation adjustments can make the image more vibrant without appearing unrealistic.
Lastly, employing HDR processing can significantly improve the quality of real estate images, especially in high-contrast scenarios. This technique captures multiple exposures and merges them for a well-balanced final image. Utilizing presets is also a smart way to save time, allowing for consistent and quick adjustments across various images.
Related Articles: Best monitor for photo editing under 200
Finalizing and Exporting Your Real Estate Photos
After completing the editing process, the finalization and exportation of real estate photos are pivotal steps that influence the quality and effectiveness of your visual representations. Understanding how to properly export images for various platforms—such as MLS listings, personal websites, and social media—is essential for maximizing exposure.
First, consider the optimal file format for your real estate photos. JPEG is the most commonly used format due to its balance between quality and file size, making it ideal for online use. However, if higher quality images are needed, particularly for printing purposes, TIFF or PNG formats are recommended as they preserve more detail. For social media posts, JPEG remains a strong choice, but ensure you are mindful of platform-specific requirements.
Next, adjust the resolution and quality settings during the export process. A resolution of 72 pixels per inch (PPI) is typically sufficient for web-based platforms, while a resolution of 300 PPI is appropriate for print materials. When exporting, set the quality level to high or maximum where applicable, as this will help maintain clarity in the details of your photographs. Additionally, consider applying sharpening effects during export, but be cautious not to overdo it to avoid unnatural edges.
Organizing your edited photo library is another crucial aspect of the finalization process. Implementing a coherent folder structure, categorized by project or listing type, will help you manage your portfolio efficiently. Consider using keywords or tags for easy searching and retrieval of images. This systematic approach will save time in future projects, allowing you to focus on achieving high-quality real estate photography.